
Welcome to Vanpro Carpet Cleaning, your locally owned and operated professional carpet & tile cleaning service based in Ventura, CA.
Contact Info
Most hardwood floor damage starts with good intentions. Here's what's actually safe to use — and what quietly destroys your floors over time.
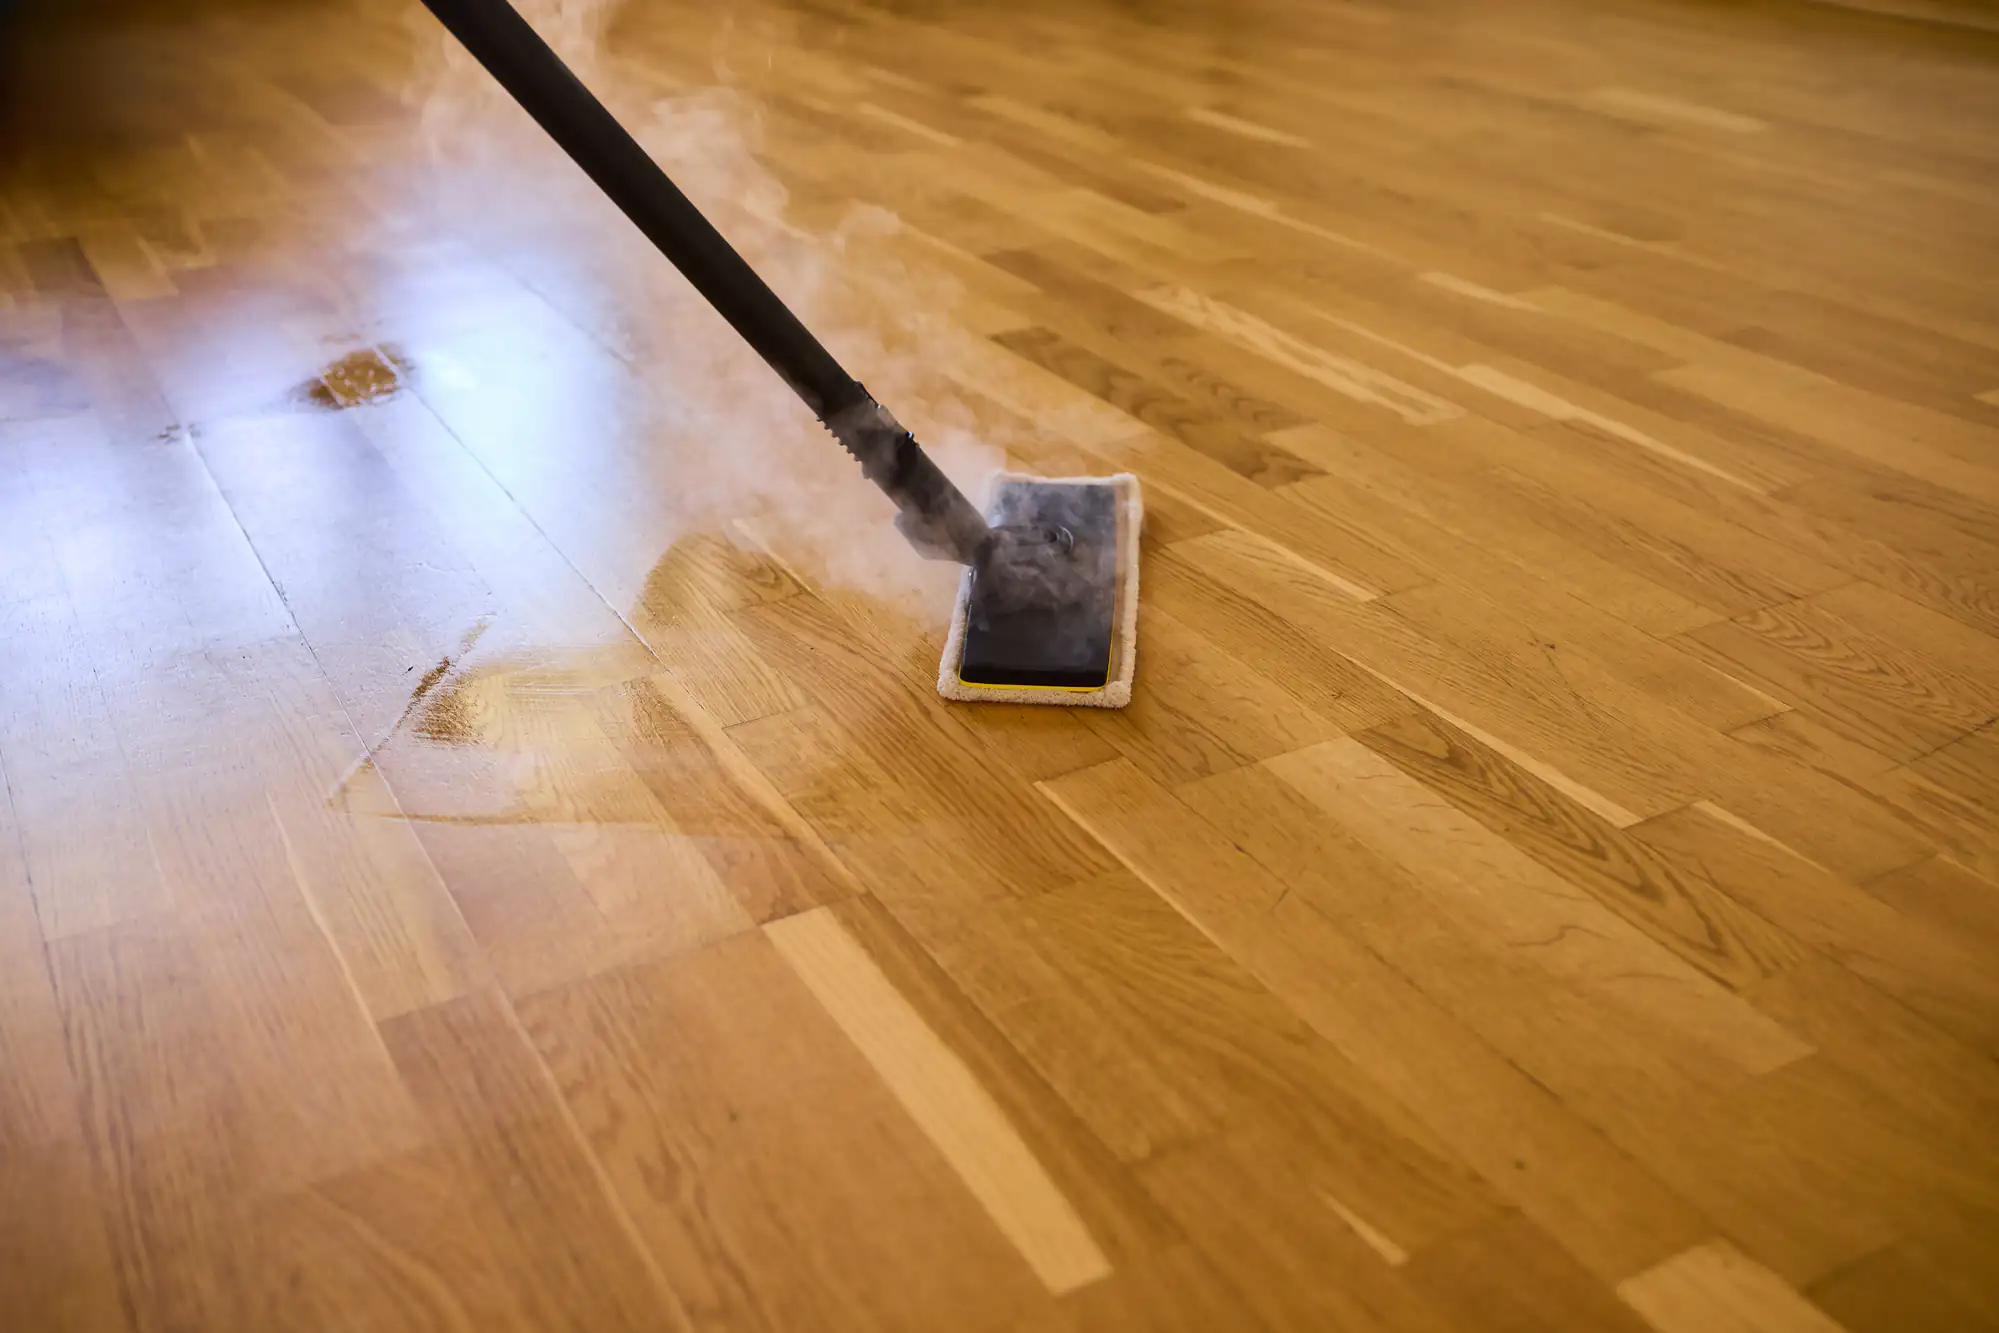
You’re trying to take care of your floors. You’ve mopped them, maybe used a vinegar solution you found online, possibly run a steam mop over them because it seemed gentler than soaking them with water. And yet something still looks off — dull patches, a faint haze, boards that seem slightly raised at the edges.
Here’s the hard part: the cleaning probably caused it. Not neglect. Not heavy foot traffic. The cleaning itself.
This guide is about understanding why that happens, how to tell what kind of hardwood floor you actually have, and what professional hardwood floor cleaning actually involves — so you can make a better decision going forward.
Wood moves. It expands when it absorbs moisture and contracts when it dries out. That’s not a flaw — it’s just the nature of the material. But it means hardwood floors have almost no tolerance for the kind of moisture that regular mopping introduces, even when you think you’re being careful.
The damage often doesn’t show up immediately. A floor that looks fine after a steam cleaning in July might start showing raised edges or a white haze by September. By then, the connection to the cleaning is easy to miss — and the damage is already done.
What makes this worse is that most of the cleaning advice circulating online is genuinely wrong for hardwood. Vinegar is acidic and degrades polyurethane finish over time, leaving floors permanently dull. Oil soap leaves a residue that builds up with every application and eventually makes the surface look cloudy and flat. Steam mops push vapor between the boards, where it sits against the wood and causes swelling from the inside out. These aren’t fringe cases — they’re the most common causes of hardwood floor damage we see.
Yes — and it’s one of the most persistent myths in home cleaning. Vinegar gets recommended constantly as a “natural” and “safe” alternative to chemical cleaners, and for some surfaces, that’s fair. For hardwood floors with a polyurethane or aluminum oxide finish, it’s genuinely harmful.
The issue is pH. Wood floors need a neutral cleaning solution — something close to a pH of 7. Vinegar sits well below that, typically around pH 2 to 3. Applied repeatedly, it breaks down the protective finish layer, leaving the wood underneath exposed and the surface looking dull in a way that can’t be buffed out. You’re not just dulling the sheen — you’re degrading the barrier that protects the wood from everything else.
The same logic applies to lemon juice, ammonia-based cleaners, and most multi-surface sprays. They’re formulated for tile, laminate, or glass — not for a surface that has a specific finish type requiring a specific pH range.
After one application, nothing looks wrong. After six months of weekly cleaning, the finish is noticeably compromised. By the time you notice, you’re looking at the possibility of refinishing — which runs $3 to $8 per square foot professionally, or potentially full replacement if the wood itself has been affected.
The fix isn’t complicated: use a pH-neutral cleaner specifically formulated for hardwood, applied with a barely damp microfiber mop. But you need to know what finish your floor has first, because even that approach varies depending on the surface.
This is one of the most common questions we hear, and the answer is straightforward: no, not for real hardwood. Steam mops are marketed as a hygienic, chemical-free option, and for tile or sealed stone they can work well. For hardwood, they’re actually more problematic than a wet mop.
Steam is water vapor — and vapor molecules are smaller than liquid water droplets. That means steam penetrates into the gaps between boards more easily than liquid water does. Once it’s in there, it sits against the wood, and wood responds the way it always does to moisture: it swells. When that happens repeatedly, boards start to cup at the edges, rise in the middle, or develop a permanent warp that no amount of drying will reverse.
Most hardwood flooring manufacturers explicitly exclude steam damage from their warranties. If you’ve had new hardwood installed in the last several years and you’ve been using a steam mop on it, you may have already voided the coverage. Repairs for water-related floor damage typically run between $482 and $1,708 depending on the extent — and major structural damage from sustained moisture exposure can push well past $5,000.
The safer approach for between-cleaning maintenance is a dry microfiber mop to pick up dust and debris, followed by a lightly dampened mop with a hardwood-specific cleaner when deeper cleaning is needed. The key word is lightly — the mop head should feel almost dry to the touch. If you’re leaving any visible moisture on the floor, you’re using too much.
Want live answers?
Connect with a Vanpro Carpet Cleaning expert for fast, friendly support.
This is where most cleaning mistakes actually begin — not with the wrong product, but with not knowing what floor type you’re dealing with before you choose a product. Surface-finished hardwood, oil-finished hardwood, and engineered wood floors each have different tolerances, and what’s safe for one can strip or damage another.
Surface-finished floors — the most common type in homes built after the 1970s — have a topcoat of polyurethane, aluminum oxide, or a similar protective layer. Cleaning products sit on top of that finish rather than penetrating the wood. Oil-finished floors, by contrast, have a penetrating finish that soaks into the wood grain itself. They require oil-based cleaners specifically formulated to replenish the finish — standard pH-neutral cleaners will gradually strip the oil out of the wood over time.
Engineered hardwood adds another layer of complexity. It’s real wood on the surface, but the core is layered plywood or composite material. It can handle slightly more humidity variation than solid hardwood, but it’s more vulnerable to delamination if moisture reaches the core — and it can’t be refinished as many times.
You don’t need a professional to make a basic identification — there’s a simple test you can do at home. Find a low-traffic area of the floor, like inside a closet or behind a door. Apply a small drop of water and watch what happens. If the water beads up on the surface, you have a surface finish — polyurethane, aluminum oxide, or similar. If the water absorbs into the wood within a minute or two, you likely have an oil or penetrating finish that requires a different cleaning approach entirely.
Another method is the mineral oil test. Apply a small amount of mineral oil to an inconspicuous spot. If it wipes clean without leaving a mark, you’re working with a surface finish. If it seems to absorb or enhance the wood’s appearance, you’re probably dealing with an oil-finished or hardwax-oil floor.
Engineered hardwood is often harder to identify by sight alone, especially if it’s been in the home for years. A few indicators: engineered floors tend to have a very consistent, uniform grain pattern because the top layer is a veneer cut from a single species. They also tend to feel slightly less “solid” underfoot in some spots, and the edges of boards — visible at transitions or vents — will show the layered plywood core rather than solid wood all the way through.
If you apply a standard pH-neutral cleaner to an oil-finished floor repeatedly, you’ll gradually strip the oil that protects the wood. The floor will start to look dry, gray, and worn — not because it’s old, but because the finish has been removed. Restoring an oil-finished floor requires reapplication of the penetrating oil, not refinishing in the traditional sense, and it’s a process most homeowners aren’t set up to do correctly.
Getting the identification right before you clean isn’t overcautious — it’s the single most important step in the whole process.
Professional hardwood floor cleaning isn’t just mopping with better equipment. The process is genuinely different from what most homeowners can replicate at home, and the difference shows in the results — and in what doesn’t go wrong.
It starts with a pre-inspection. Before anything touches the floor, we identify the floor type, the finish, and the current condition — including any areas of existing damage, soft spots, or finish wear that need to be worked around rather than treated aggressively. This step alone separates a careful professional from someone who applies the same method to every floor regardless of what it is.
From there, the process involves dry vacuuming to remove loose debris and grit before any wet product is introduced. Grit is abrasive — dragging it across a hardwood floor with a mop scratches the finish. Removing it first is basic, but it’s a step that gets skipped in rushed jobs. Then comes pre-treatment with a wood-safe, finish-appropriate cleaner, followed by controlled-moisture extraction or dry-buffing techniques that lift embedded grime from within the grain and from between boards — the buildup that regular mopping doesn’t reach and can’t remove.
The drying step matters too. Floors should be fully dry before foot traffic resumes, and a final walkthrough confirms the results and flags anything that needs follow-up attention.
In Ventura County, there’s an added layer of complexity worth understanding. The coastal microclimate — marine layer humidity through the summer months, followed by the dry Santa Ana winds in fall — puts hardwood floors through significant seasonal stress. Floors that were exposed to excess moisture during summer cleaning are often the ones that show cupping and warping when the air dries out in October and November. Homes in Ventura, Oxnard, and the beach-adjacent parts of Camarillo are particularly susceptible.
Many homes in Ventura, CA and Santa Paula, CA have original hardwood from the 1960s and 1970s — floors that are more sensitive to moisture and finish incompatibility than newer installations. Getting the approach right for a 50-year-old floor is different from cleaning a floor installed five years ago, and treating them the same way is a mistake we see the consequences of regularly.
If your floors look dull despite regular cleaning, if you’ve noticed raised edges or a faint haze after mopping, or if you simply don’t know what finish you’re working with — those are all good reasons to stop and get a professional assessment before doing more damage.
The cost of getting it wrong adds up fast. Repair costs for water-related hardwood damage typically start around $482 and can run well past $1,700 depending on the extent. Refinishing a floor professionally runs $3 to $8 per square foot. A cleaning that’s done correctly from the start is a fraction of either of those numbers — and it keeps you from needing them.
We’ve been doing this work in Ventura County since 2015. Every job is handled by the same person who quotes it — no rotating crews, no guesswork about who’s showing up. If you want to know what your floors actually need, reach out for a free estimate and we’ll take a look.
Summary:
Article details:
Share:

